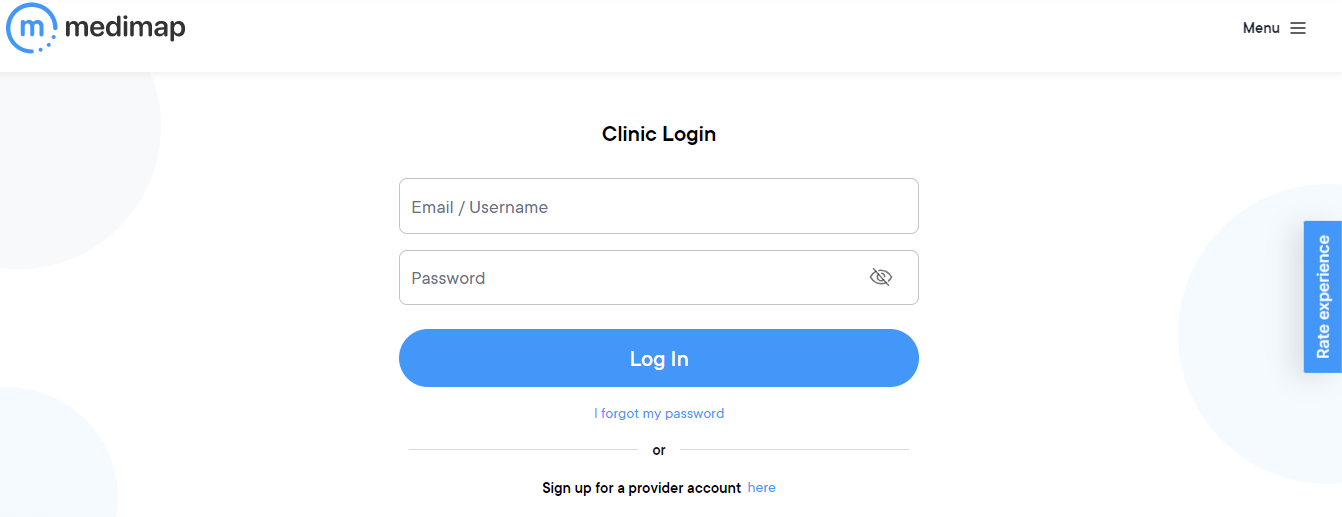
1. Go to medimap.ca/clinics and login to your Medimap account at the top-right corner of the home page
If you do not have login credentials, please contact Medimap's support team at support@medimap.ca.
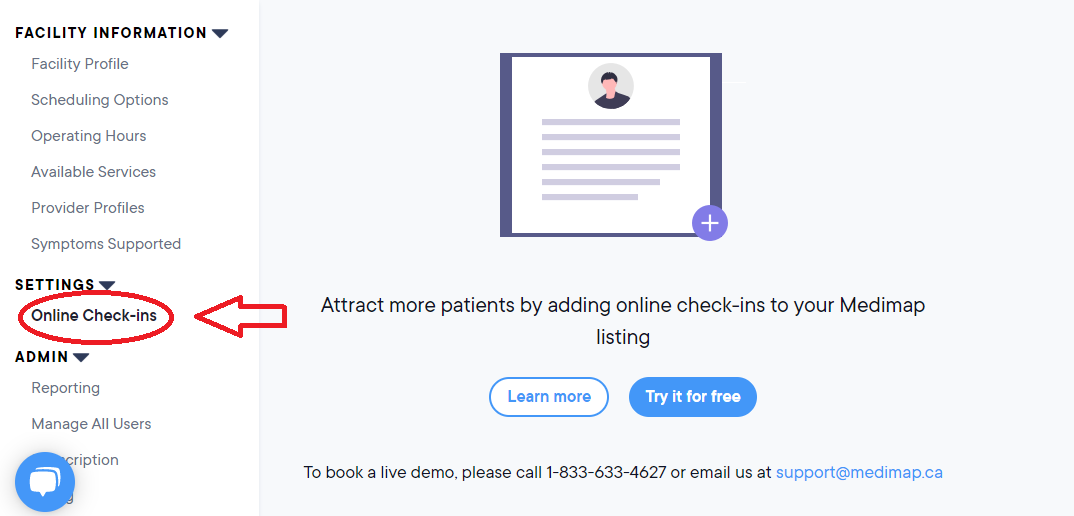
2. Once logged in, on the left-hand side of your clinic portal under the "Settings" section, click "Online Check-ins"
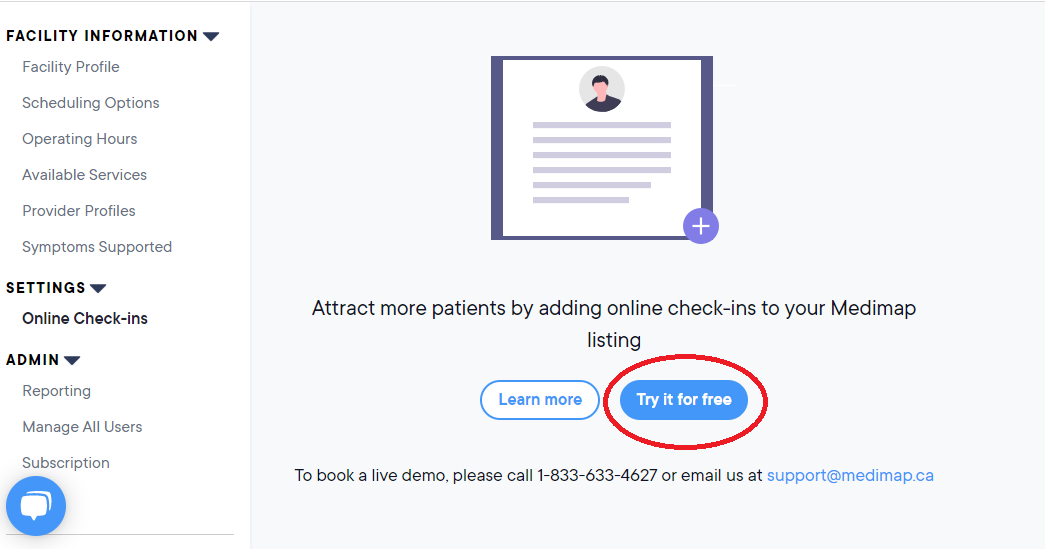
3. Click the blue "Try it for free" button to activate online check-ins in your account
Note: If you've already enabled online check-ins, skip to step 4.
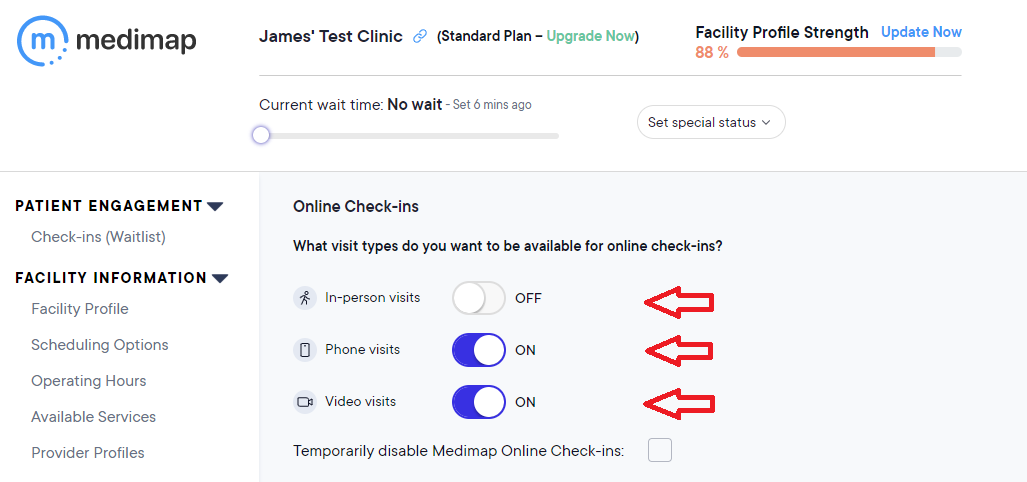
4. Set the visit types that you want patients to be able to check-in for (phone, video and/or in-person)
You can control the visit types that are available for online check-in. Click the toggle beside "In-person visits", "Phone visits", and/or "Video visits" to set the visit type(s) that patients can select when checking in online.
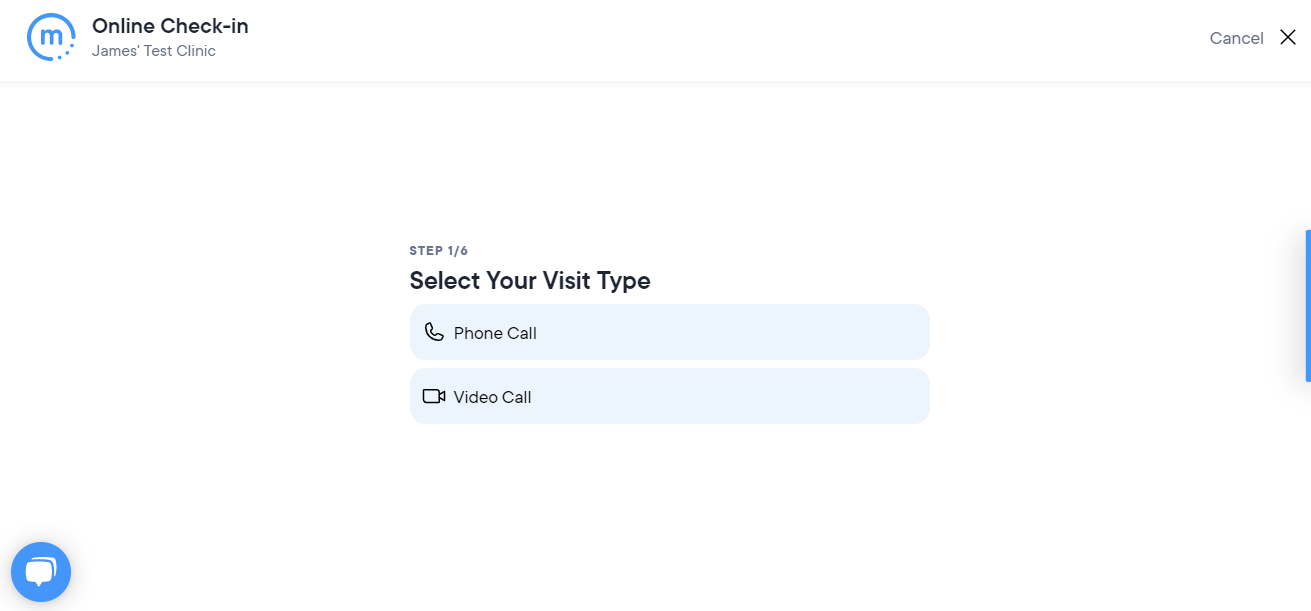
Below is a screenshot of the first thing that patients will see when they start the online check-in process for your clinic, depending on the visit type(s) that you have enabled for online check-in:
5. Change when your online check-ins become available if necessary
By default your online check-in service will become available when your clinic opens and become unavailable when your clinic closes. This will be based on the hours that you have set in the "Operating Hours" section of your clinic portal (see the support article for Setting the clinic's operating hours for more information about changing your hours). If you don't want your online check-in service to become available to patients as soon as the clinic opens, or if you want it to become unavailable before the end of your shift, you can change your settings accordingly.
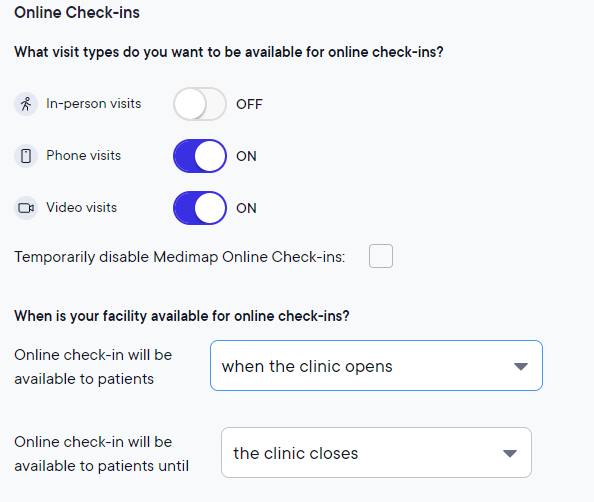
Note: If for any reason you need to temporarily disable online check-ins during a shift, you can do so by ticking the box beside "Temporarily disable Medimap Online Check-ins" in your clinic portal, which will deactivate your online check-in service until the end of the day.
6. Install the Medimap desktop application on any computers that you will be using to register patients into your EMR
We have a desktop application to make it extremely easy for you to register a patient's details into your EMR when they check-in online and ensure that you are aware when a check-in request is pending without having to monitor your clinic portal for new requests. You will only be able to receive online check-in requests when your desktop application is running to ensure that patients do not submit check-in requests when you are not available. Setting up the desktop application takes less than a minute - see the support article about Installing the Medimap reminder application for setup instructions.
7. Let your patients know that you now offer this convenient service! 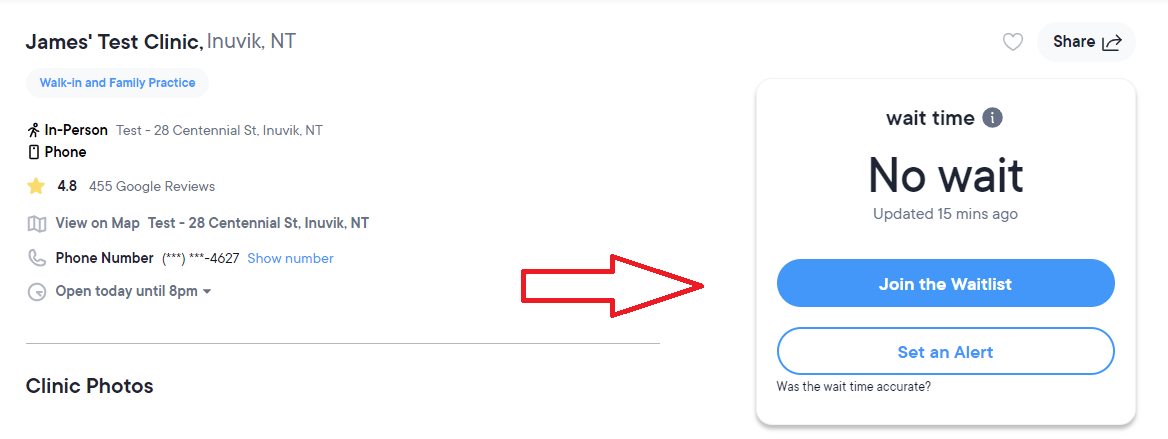
Now that you've enabled online check-ins in your Medimap account and downloaded the desktop application, you're ready to start receiving online check-ins! Patients can request to join your waitlist by clicking "Join Waitlist" from your listing on the Medimap community search portal or by visiting your clinic's details page and clicking "Join the Waitlist". You can also update your voice recording to say "Please visit our Medimap page to check-in online" and link to your Medimap page from your own website to convert visitors into patients.
8. When a patient checks into your clinic, you will receive a pop-up in the bottom right corner of your screen asking whether you have room on your waitlist
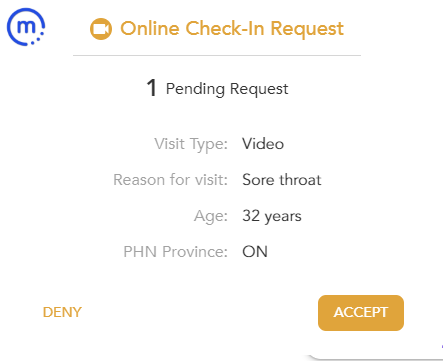
When you click "Accept", you will immediately be presented with the patient's registration details to add to your EMR. You can add them to the waitlist the same way you would if they were standing right in front of you.
Note: If you click "Deny" the patient will be sent a text message letting them know that you don't have a doctor available to see them today. This should only be used if you have run out of room on your waitlist, and we recommend setting your wait time status to "At Capacity" if this is the case so you do not receive any more online check-ins for the day.
The patient's registration details are also available in your clinic portal under the "Patient Engagement" section where it says "Online Check-ins".
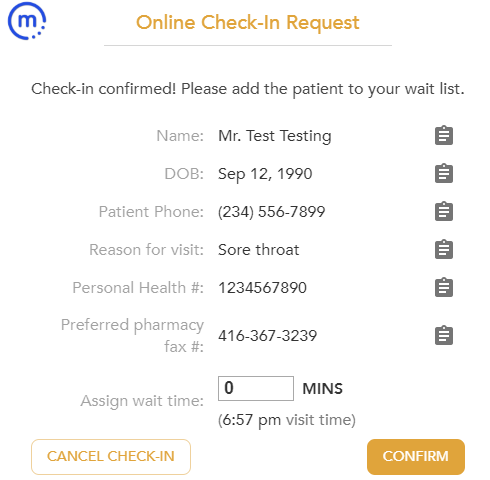
9. Assign a wait time and click "Confirm"
Once you click "Confirm" the patient will receive a text message and an email confirming that they have been added to your waitlist. Their confirmation message will include the estimated wait time that you provided. If the patient checked in for a phone visit, it will say that they can expect a phone call from the doctor around the estimated time. If you are using Medimap's virtual clinic service and the patient has checked in for a video call, the patient will receive a link to your virtual clinic in their confirmation message so they can join a video call with the doctor at their estimated time.
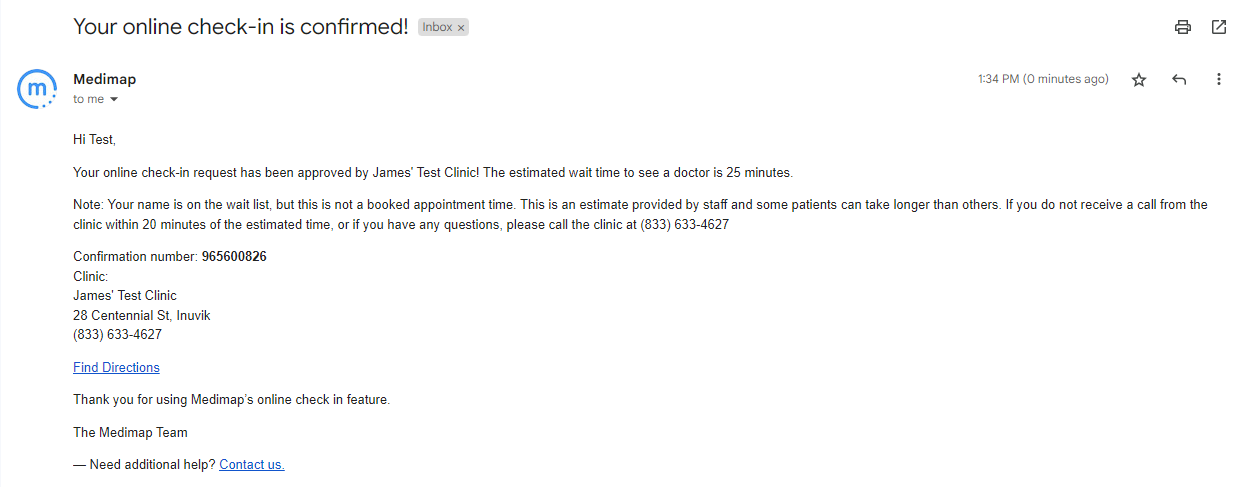

NOTE: It is made very clear in the confirmation message that the assigned time is an estimate only and it may be longer than expected, as some patients may take longer than others. If you need to change the patient's assigned visit time you can do so in the clinic portal by clicking "Change" beside their time. The patient will receive a text message with the updated time.
10. Complete the visit
Once the doctor has spoken with the patient, you can click "Complete Session" in the clinic portal to move the patient down to your visit history. Please note that if an online check-in isn't manually marked as complete, the system will automatically mark the session as complete after 2 hours.
If you have any questions or would like to see a live demo of the online check-in service, feel free to email us at support@medimap.ca.